Screens & Rendering
Drawing a Sprite
Sprites are the building blocks of 2D MonoGame rendering. This tutorial shows how to load a Texture2D, draw it with SpriteBatch, and use tinting, scaling, rotation, flipping, sorting, and generated textures for examples that run even when you have no image files yet.
Download the runnable sample project
Use the verified ZIP bundle for this article to review the extracted example files, run the sample host, and repackage the sources without bin or obj folders.
The SpriteBatch cycle
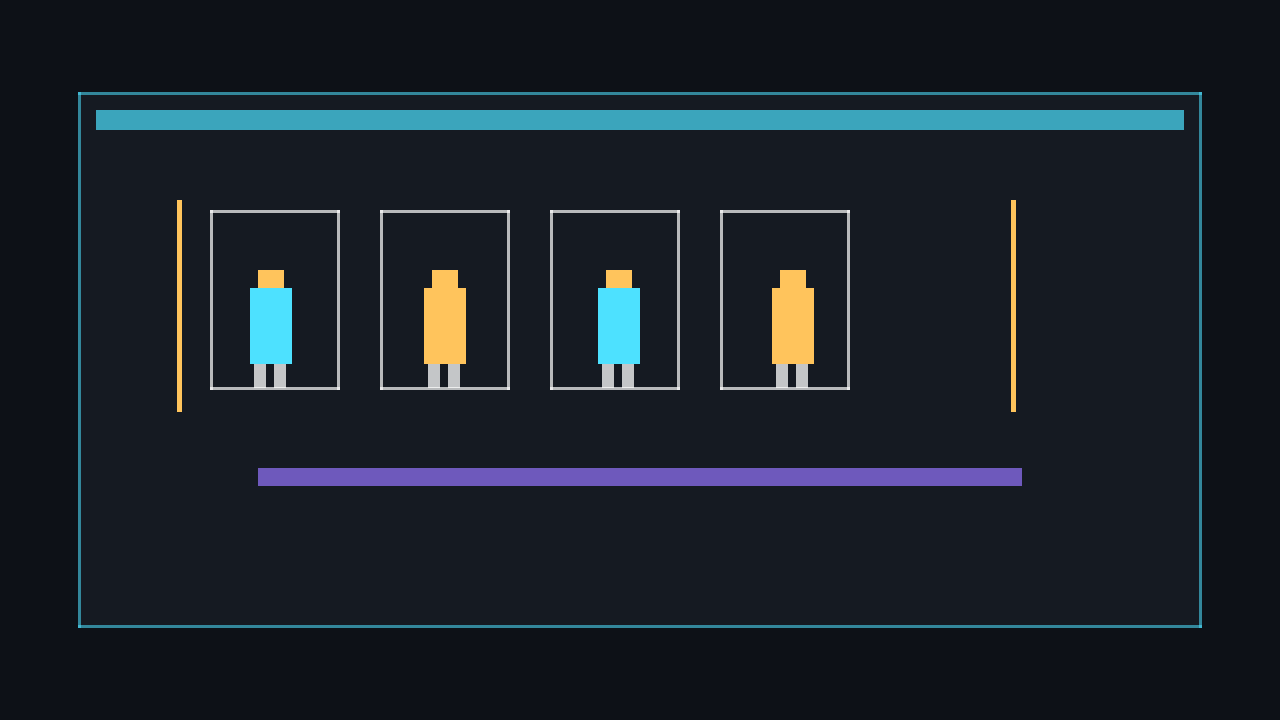
SpriteBatch batches many 2D draw requests and sends them to the GPU efficiently. The pattern is always Begin, one or more Draw calls, then End. Create the batch once in LoadContent; do not recreate it every frame.
using Microsoft.Xna.Framework;
using Microsoft.Xna.Framework.Graphics;

public class Game1 : Game
{
    private GraphicsDeviceManager _graphics;
    private SpriteBatch _spriteBatch;
    private Texture2D _playerTexture;
    private Vector2 _playerPosition = new Vector2(100, 100);

    protected override void LoadContent()
    {
        _spriteBatch = new SpriteBatch(GraphicsDevice);
        _playerTexture = Content.Load<Texture2D>("player");
    }

    protected override void Draw(GameTime gameTime)
    {
        GraphicsDevice.Clear(Color.CornflowerBlue);
        _spriteBatch.Begin();
        _spriteBatch.Draw(_playerTexture, _playerPosition, Color.White);
        _spriteBatch.End();
        base.Draw(gameTime);
    }
}
💡 Tip: Color.White keeps the texture's original colours. Any other colour tints the sprite by multiplying the texture colour by that tint.
Loading textures with the content pipeline
For production art, add a PNG to your MonoGame content project and load it by asset name. If the file is Content/player.png and its asset name is player, load it with Content.Load<Texture2D>("player"). Do not include the file extension in the load name.
⚠️ Caution: The PNG must be added to Content.mgcb with the MGCB Editor and built by the content pipeline. Copying an image beside Game1.cs is not enough. Open the MGCB Editor, choose Add Existing Item, select the PNG, keep the Texture Importer and Texture Processor, save, then build.
private Texture2D _playerTexture;
private Vector2 _playerPosition = new Vector2(240, 160);

protected override void LoadContent()
{
    _spriteBatch = new SpriteBatch(GraphicsDevice);

    // Loads Content/player.png after it has been processed by Content.mgcb.
    _playerTexture = Content.Load<Texture2D>("player");
}

protected override void Draw(GameTime gameTime)
{
    GraphicsDevice.Clear(Color.CornflowerBlue);

    _spriteBatch.Begin(samplerState: SamplerState.PointClamp);
    _spriteBatch.Draw(_playerTexture, _playerPosition, Color.White);
    _spriteBatch.Draw(_playerTexture, _playerPosition + new Vector2(96, 0), Color.Orange);
    _spriteBatch.End();

    base.Draw(gameTime);
}
The full Draw overload
The most useful Draw overload lets you choose the position, optional source rectangle, tint colour, rotation, origin, scale, flip effect, and layer depth. To rotate around the sprite centre, set origin to half the source rectangle size.
Rectangle? sourceRectangle = null;
Vector2 position = new Vector2(320, 180);
Vector2 origin = new Vector2(_playerTexture.Width / 2f, _playerTexture.Height / 2f);
SpriteEffects effects = SpriteEffects.FlipHorizontally;

_spriteBatch.Draw(
    texture: _playerTexture,
    position: position,
    sourceRectangle: sourceRectangle,
    color: Color.DeepSkyBlue,
    rotation: MathHelper.ToRadians(25f),
    origin: origin,
    scale: 2f,
    effects: effects,
layerDepth: 0.2f);- sourceRectangle selects part of a texture. Use
nullto draw the whole image. - color applies a tint. Use
Color.Whitefor no visible tint. - rotation is measured in radians. Use
MathHelper.ToRadiansfor degrees. - origin is the pivot point inside the source rectangle. The centre gives natural rotation.
- scale can be a single
floator aVector2for different X/Y scaling. - effects flips sprites with
SpriteEffects.FlipHorizontallyorSpriteEffects.FlipVertically. - layerDepth is used by sorted batches. In MonoGame,
0fis the front and1fis the back.
⚠️ Warning: Rotation happens around origin, not automatically around the centre. If origin is Vector2.Zero, the sprite spins around its top-left corner.
Generating textures in code
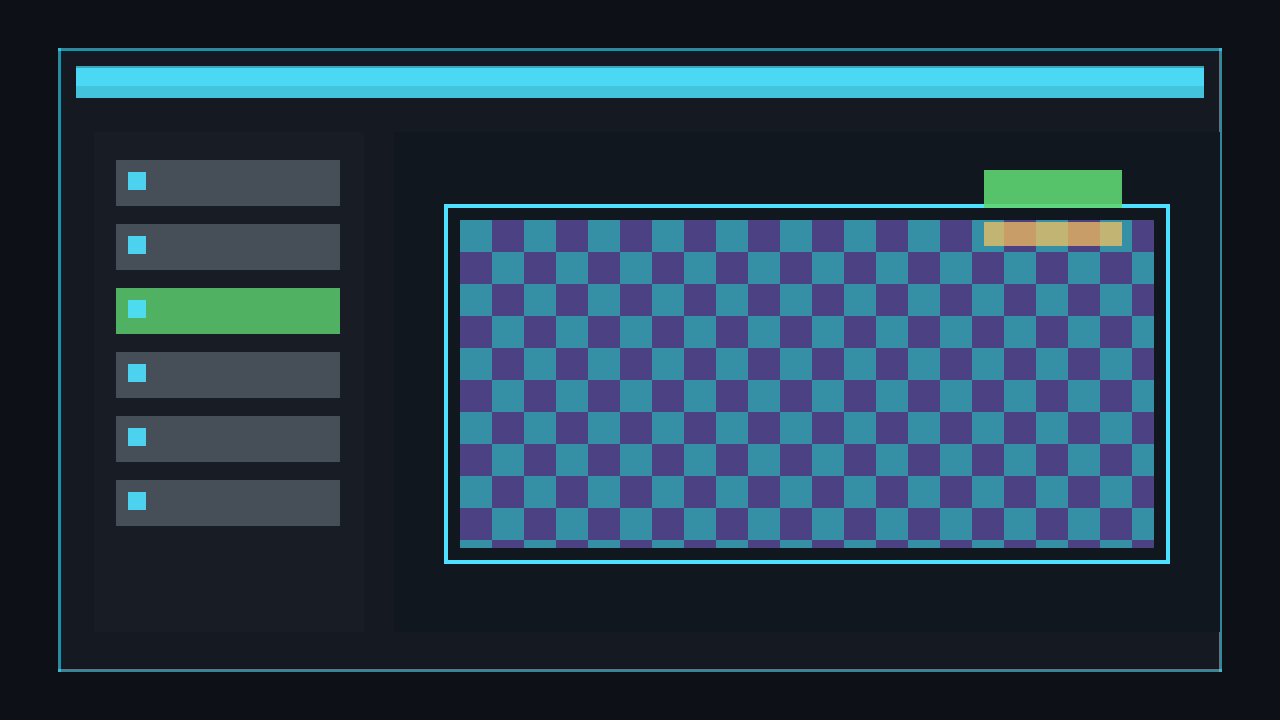
Generated textures are perfect for placeholders, debug shapes, particles, and tutorials. A 1×1 white pixel can be stretched into rectangles, while a checkerboard texture shows how to fill a whole texture with SetData(Color[]).
private Texture2D CreateWhitePixel(GraphicsDevice graphicsDevice)
{
    var pixel = new Texture2D(graphicsDevice, 1, 1);
    pixel.SetData(new[] { Color.White });
    return pixel;
}

private Texture2D CreateCheckerboard(
    GraphicsDevice graphicsDevice,
    int size,
    Color first,
    Color second)
{
    var texture = new Texture2D(graphicsDevice, size, size);
    var pixels = new Color[size * size];

    for (int y = 0; y < size; y++)
    {
        for (int x = 0; x < size; x++)
        {
            bool useFirst = ((x / 4) + (y / 4)) % 2 == 0;
            pixels[y * size + x] = useFirst ? first : second;
        }
    }

    texture.SetData(pixels);
    return texture;
}
💡 Tip: When drawing generated pixel art or tile textures, use SamplerState.PointClamp in Begin so scaled pixels stay crisp instead of blurry.
Sort modes and blend states
SpriteBatch.Begin accepts render settings for the whole batch. SpriteSortMode.Deferred is the usual default and is fastest for many simple sprites. Use SpriteSortMode.BackToFront when layerDepth should decide draw order: sprites nearer 1f draw first, sprites nearer 0f draw later and appear in front.
BlendState.AlphaBlend is the normal choice for PNG sprites with transparency. BlendState.Additive is useful for glows, fire, magic, and particles; BlendState.Opaque skips transparency when you know everything is solid.
_spriteBatch.Begin(
    sortMode: SpriteSortMode.BackToFront,
    blendState: BlendState.AlphaBlend,
    samplerState: SamplerState.PointClamp);

// Back layer: drawn first.
_spriteBatch.Draw(_backgroundTile, new Rectangle(0, 0, 640, 360), null, Color.White, 0f, Vector2.Zero, SpriteEffects.None, 1f);

// Front layer: drawn later because 0 is closer to the camera.
_spriteBatch.Draw(_playerTexture, _playerPosition, null, Color.White, 0f, _playerOrigin, 2f, SpriteEffects.None, 0f);

_spriteBatch.End();
Complete example: generated tiles and rotating sprite
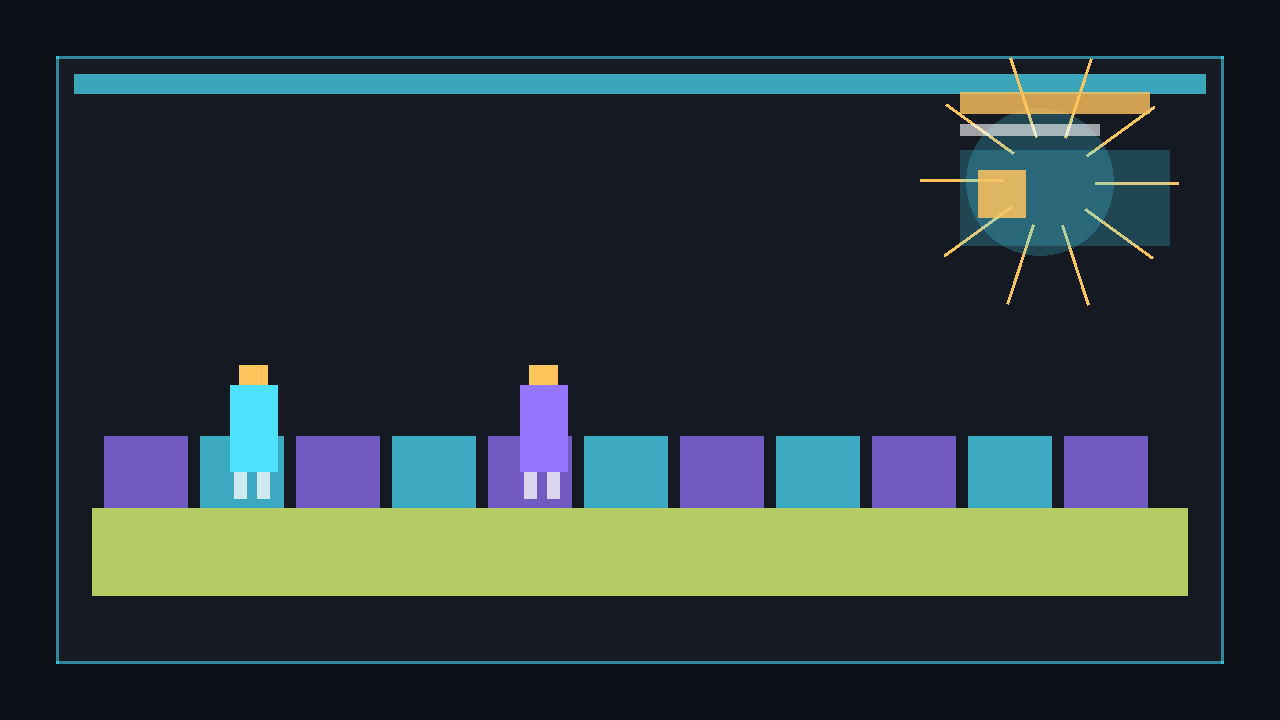
This complete Game1.cs creates all textures in code. It draws a procedural checkerboard tile grid as the background, then draws a rotating, scaled sprite with a centre origin, tint colour, optional horizontal flip, and explicit layerDepth.
using Microsoft.Xna.Framework;
using Microsoft.Xna.Framework.Graphics;
using Microsoft.Xna.Framework.Input;

public class Game1 : Game
{
    private readonly GraphicsDeviceManager _graphics;
    private SpriteBatch _spriteBatch;
    private Texture2D _checkerTile;
    private Texture2D _playerTexture;
    private Vector2 _playerPosition;
    private Vector2 _playerOrigin;
    private float _rotation;

    public Game1()
    {
        _graphics = new GraphicsDeviceManager(this);
        Content.RootDirectory = "Content";
        IsMouseVisible = true;
    }

    protected override void Initialize()
    {
        _graphics.PreferredBackBufferWidth = 960;
        _graphics.PreferredBackBufferHeight = 540;
        _graphics.ApplyChanges();

        _playerPosition = new Vector2(480, 270);
        base.Initialize();
    }

    protected override void LoadContent()
    {
        _spriteBatch = new SpriteBatch(GraphicsDevice);
        _checkerTile = CreateCheckerboard(GraphicsDevice, 16, Color.DarkSlateBlue, Color.MidnightBlue);
        _playerTexture = CreateDiamondSprite(GraphicsDevice, 64);
        _playerOrigin = new Vector2(_playerTexture.Width / 2f, _playerTexture.Height / 2f);
    }

    protected override void Update(GameTime gameTime)
    {
        if (Keyboard.GetState().IsKeyDown(Keys.Escape))
            Exit();

        float dt = (float)gameTime.ElapsedGameTime.TotalSeconds;
        _rotation += MathHelper.ToRadians(90f) * dt;
        base.Update(gameTime);
    }

    protected override void Draw(GameTime gameTime)
    {
        GraphicsDevice.Clear(Color.Black);

        _spriteBatch.Begin(
            sortMode: SpriteSortMode.BackToFront,
            blendState: BlendState.AlphaBlend,
            samplerState: SamplerState.PointClamp);

        DrawBackgroundTiles();

        SpriteEffects flip = (System.MathF.Sin(_rotation) > 0f)
            ? SpriteEffects.FlipHorizontally
            : SpriteEffects.None;

        _spriteBatch.Draw(
            texture: _playerTexture,
            position: _playerPosition,
            sourceRectangle: null,
            color: Color.LightSkyBlue,
            rotation: _rotation,
            origin: _playerOrigin,
            scale: 2f,
            effects: flip,
            layerDepth: 0.1f);

        _spriteBatch.End();
        base.Draw(gameTime);
    }

    private void DrawBackgroundTiles()
    {
        const int tileSize = 64;
        int columns = GraphicsDevice.Viewport.Width / tileSize + 1;
        int rows = GraphicsDevice.Viewport.Height / tileSize + 1;

        for (int y = 0; y < rows; y++)
        {
            for (int x = 0; x < columns; x++)
            {
                var destination = new Rectangle(x * tileSize, y * tileSize, tileSize, tileSize);
                _spriteBatch.Draw(_checkerTile, destination, null, Color.White, 0f, Vector2.Zero, SpriteEffects.None, 1f);
            }
        }
    }

    private static Texture2D CreateCheckerboard(GraphicsDevice graphicsDevice, int size, Color first, Color second)
    {
        var texture = new Texture2D(graphicsDevice, size, size);
        var pixels = new Color[size * size];

        for (int y = 0; y < size; y++)
        {
            for (int x = 0; x < size; x++)
            {
                bool useFirst = ((x / 4) + (y / 4)) % 2 == 0;
                pixels[y * size + x] = useFirst ? first : second;
            }
        }

        texture.SetData(pixels);
        return texture;
    }

    private static Texture2D CreateDiamondSprite(GraphicsDevice graphicsDevice, int size)
    {
        var texture = new Texture2D(graphicsDevice, size, size);
        var pixels = new Color[size * size];
        Vector2 centre = new Vector2((size - 1) / 2f, (size - 1) / 2f);
        float radius = size * 0.42f;

        for (int y = 0; y < size; y++)
        {
            for (int x = 0; x < size; x++)
            {
                float distance = System.MathF.Abs(x - centre.X) + System.MathF.Abs(y - centre.Y);
                pixels[y * size + x] = distance < radius ? Color.White : Color.Transparent;
            }
        }

        texture.SetData(pixels);
        return texture;
    }
}
dotnet build
dotnet runCommon pitfalls
- Calling
DrawbeforeBeginor afterEnd. Every sprite draw must happen inside a matching batch. - Loading content every frame. Use
LoadContentonce; repeatedContent.Load<Texture2D>calls inUpdateorDrawwaste time. - Using the wrong origin. Rotation and scaling pivot around
origin. - Expecting
layerDepthto work in every sort mode. Use a sorted mode such asSpriteSortMode.BackToFrontwhen layer order matters. - Forgetting alpha blending. Transparent PNG sprites normally need
BlendState.AlphaBlend.
⚠️ Caution: Keep one Begin/End pair for sprites that share the same blend, sampler, and sort settings. If you need additive particles, end the alpha batch first, start a new additive batch, then end it before drawing normal sprites again.
Next steps
🎓 Test Your Knowledge
Check your understanding of the key concepts from this tutorial.
What MonoGame class is used to draw 2D sprites?
✔ Correct!
✘ Not quite.
SpriteBatch.Begin()/Draw()/End() is the standard way to render 2D sprites.
In what order must you call SpriteBatch methods?
✔ Correct!
✘ Not quite.
Calling End before Draw would flush an empty batch; your sprites would never appear.
What does the color parameter in SpriteBatch.Draw do when set to Color.White?
✔ Correct!
✘ Not quite.
Color.White is a multiplicative tint of 1,1,1,1 — it leaves all channels at full strength.
What is a sourceRectangle in SpriteBatch.Draw?
✔ Correct!
✘ Not quite.
Source rectangles enable sprite sheets — you pick a sub-region of a larger texture.